Tutorial to flash POLY PAD TABLET PC.
Note : This method will apply all the POLY PAD TABLET PC.
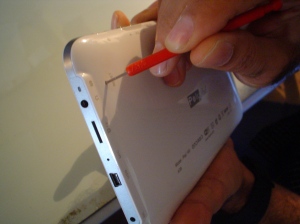
1.download the file to your computer. Then, save the file on your computer by opening the appropriate place. Polypad is switched off with the help of a rod-touch recommend RESET button on the rear.
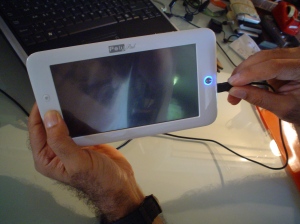
2.By pressing and holding the Back button with your finger, connect the device to your computer with the help of USB cable. Reason for us to keep down the Back key to prevent the opening of the device when the power via USB.
3.Blue light will be lit blue button to the right of the screen, but the
device will not turn around. You can take your finger off after
ignition key back to blue light.
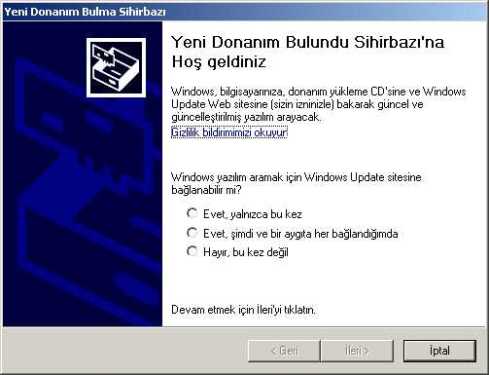
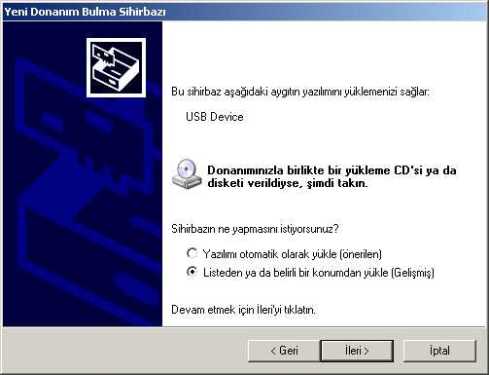
Computer, the "New Hardware Found" on your computer screen after receiving the notice:
4."No, not this time" option by clicking the "Next" button.
5.L at work or specific location by selecting the option and press Next.
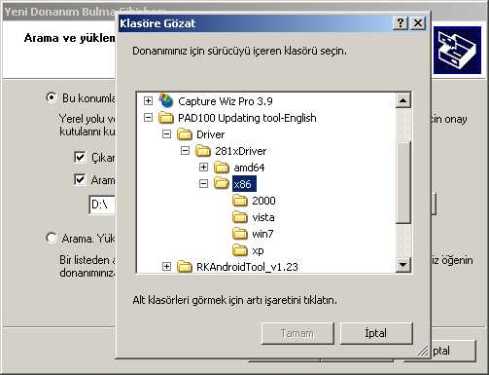
6.Then click on the box on the BROWSE.
7.Driver files you have downloaded in the screen that opens->
281Xdriver-> processor is based on Intel X86 amd select the operating
system you are using the amd64 section and click OK.
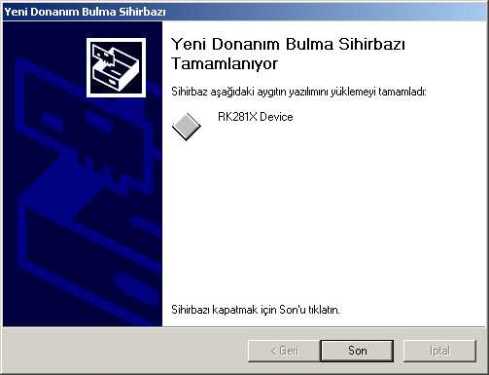
8.B seçenğine eliren Click NEXT on the screen. 9.Driver is installed you will see the above screen format.
10.Introduced as a device to your computer when you see the above screen.
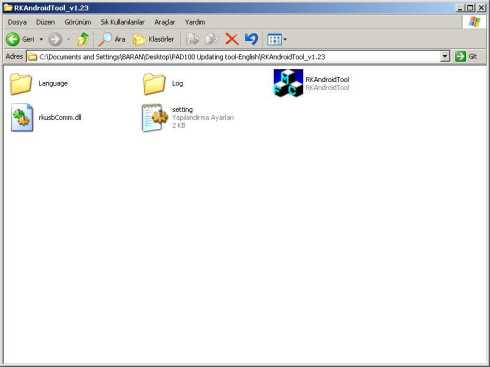
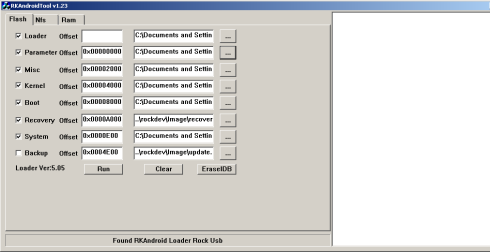
11.Then run the downloaded files, locate the file named in the RKAndroidTool.
12.K arşınıza
transfer the system files will appear on the screen. FOUND at the
bottom of the screen warning came RKAndroid Make sure that the USB
Loader Rock. "No. Not Found" warning if you have started with the switch
on and off your computer and run the program again RKAndroidTool.
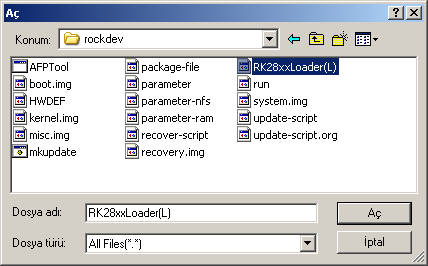
13.Loader parameters, starting with the right "..." boxes on the first
click in the folder ROCKDEV RK28XXLoader (L) click on the file named
twice.
14.ROCKDEV Parameter section by clicking on the box in the folder "parameter" option to click twice.
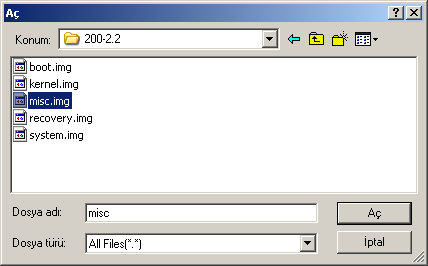
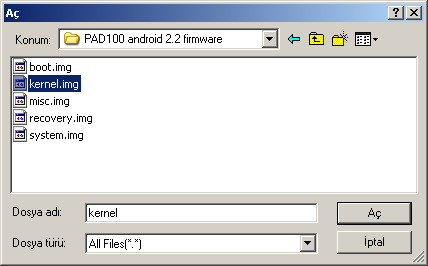
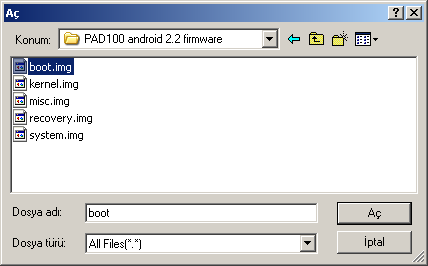
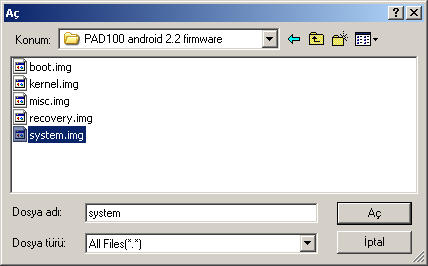
15.Respectively, "PAD100 android 2.2 firmware" folder in the Misc,
kernel, boot, recovery, system files, perform the same operation.
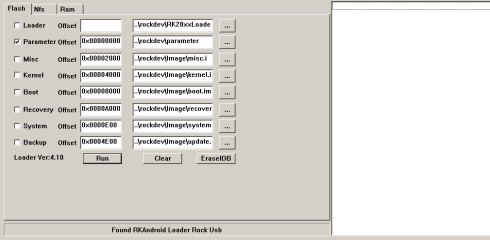
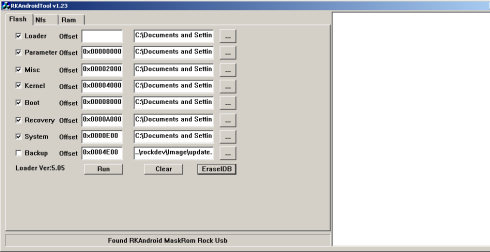
16.After all these operations, the installation program should appear in
the following format. Make sure that the boxes on the left is
clicked. Back-up should not be part of the clicked.
17.Then click ereas IDB, followed by pressing the RUN key to start the update.
18.The following information appears on the right side of the installation program starts.
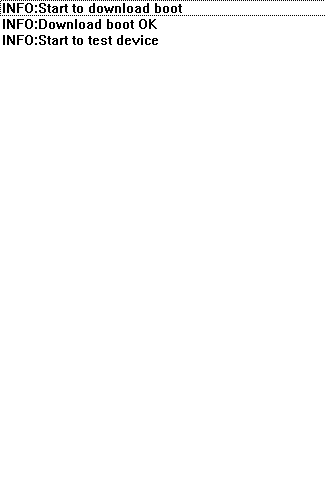 19.After a few minutes, you will see the following screen. If there is RUN OK and the device from your computer can take.
 20. Polypad to display the following screen will appear after three minutes and then the main screen will appear.
21.After all these processes, the device will be updated Android 2.2.1.
Hoping to use the good days ...

 19.After a few minutes, you will see the following screen. If there is RUN OK and the device from your computer can take.
 20. Polypad to display the following screen will appear after three minutes and then the main screen will appear.








0 comments:
Post a Comment